
Provisioning Nabto WebRTC Devices
Production devices are typically provisioned in batches. The recommended process keeps each private key on its device and only sends public keys to Nabto:
- Create the device IDs in the console.
- Install a product ID, device ID and private key on each unit on the production line.
- Register each unit’s public key with its device ID.
Unlike Nabto Edge fingerprints, registering Nabto WebRTC public keys never replaces anything: Keys are always added to a device and existing keys are kept. See the Production Safety Checklist for the operations that can disconnect devices.
Step 1: Create a Batch of Devices
On the WebRTC Devices tab of the product, enter the number of devices you need in Devices to create and click Create Devices. Each device counts towards your organization’s device limit. Only create the number you are about to produce.
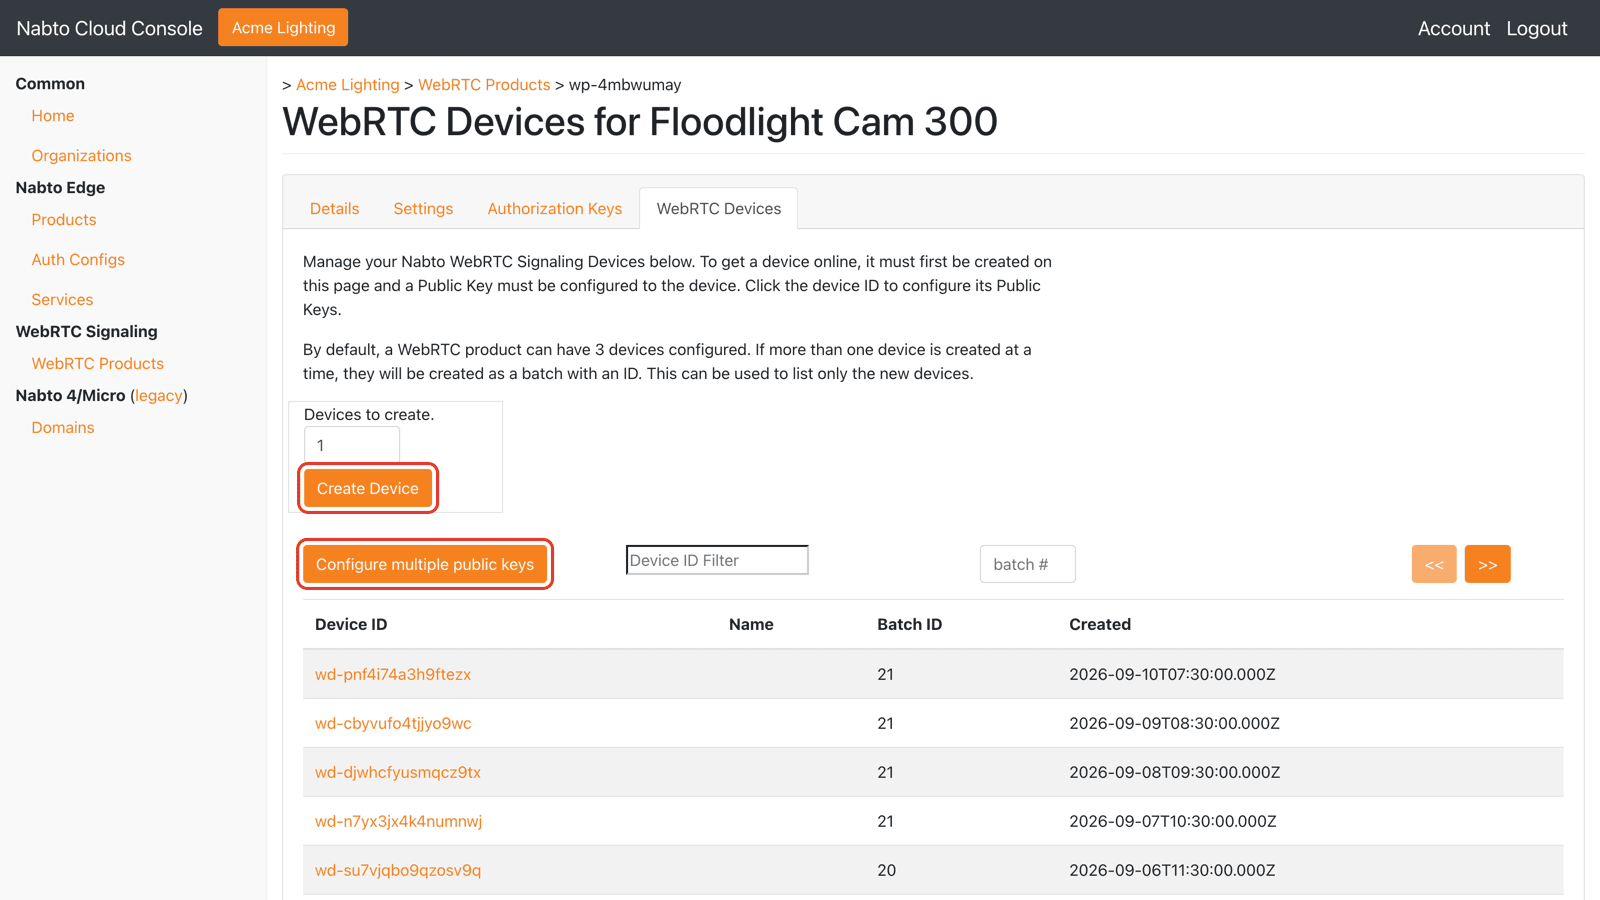
The console creates the devices as a new batch and shows only that batch in the list. The devices have no public keys yet and cannot connect until one is registered. You can show a batch again later by typing its number in the batch field.
Step 2: Install Keys and IDs on the Devices
For each unit, the production line creates a NIST P-256 key pair on or for the device, installs the private key together with the product ID and one of the new device IDs and records the public key in PEM format. Camera Authentication describes how to create the keys. The result is a list of (device ID, public key) pairs.
Step 3: Upload the Public Keys
Save the pairs as a .json file containing an array of objects, each with a deviceId and a publicKey:
[
  {
    "deviceId": "wd-hq9xkcmn3tvw4pzj",
    "publicKey": "-----BEGIN PUBLIC KEY-----\nMFkwEwYHKoZIzj0CAQYIKoZIzj0DAQcDQgAEggDlWbrS70ZJX0sw1q7D7JB0Zq2k\nBZxgyZLeASL0gd1YozDuoDWy+8Z3/Qx5ap/atiPyzwKWpBUQBMzdmlczhg==\n-----END PUBLIC KEY-----\n"
  },
  {
    "deviceId": "wd-7ra4fbkeyjs9dm3u",
    "publicKey": "-----BEGIN PUBLIC KEY-----\nMFkwEwYHKoZIzj0CAQYIKoZIzj0DAQcDQgAE1N+ECMmfrG0evYaLwIbuovvMh0on\nLNBiRYCSCKUBJA+EaeJuFIBalg78eAQXsKkiEfjerYCm5ujK+spOsdpcOw==\n-----END PUBLIC KEY-----\n"
  }
]
Each publicKey must be the complete PEM text, including the final line break after -----END PUBLIC KEY-----, written as \n in JSON. Use the example above as a reference for the format.
On the WebRTC Devices tab click Configure multiple public keys, choose the file and click Submit.
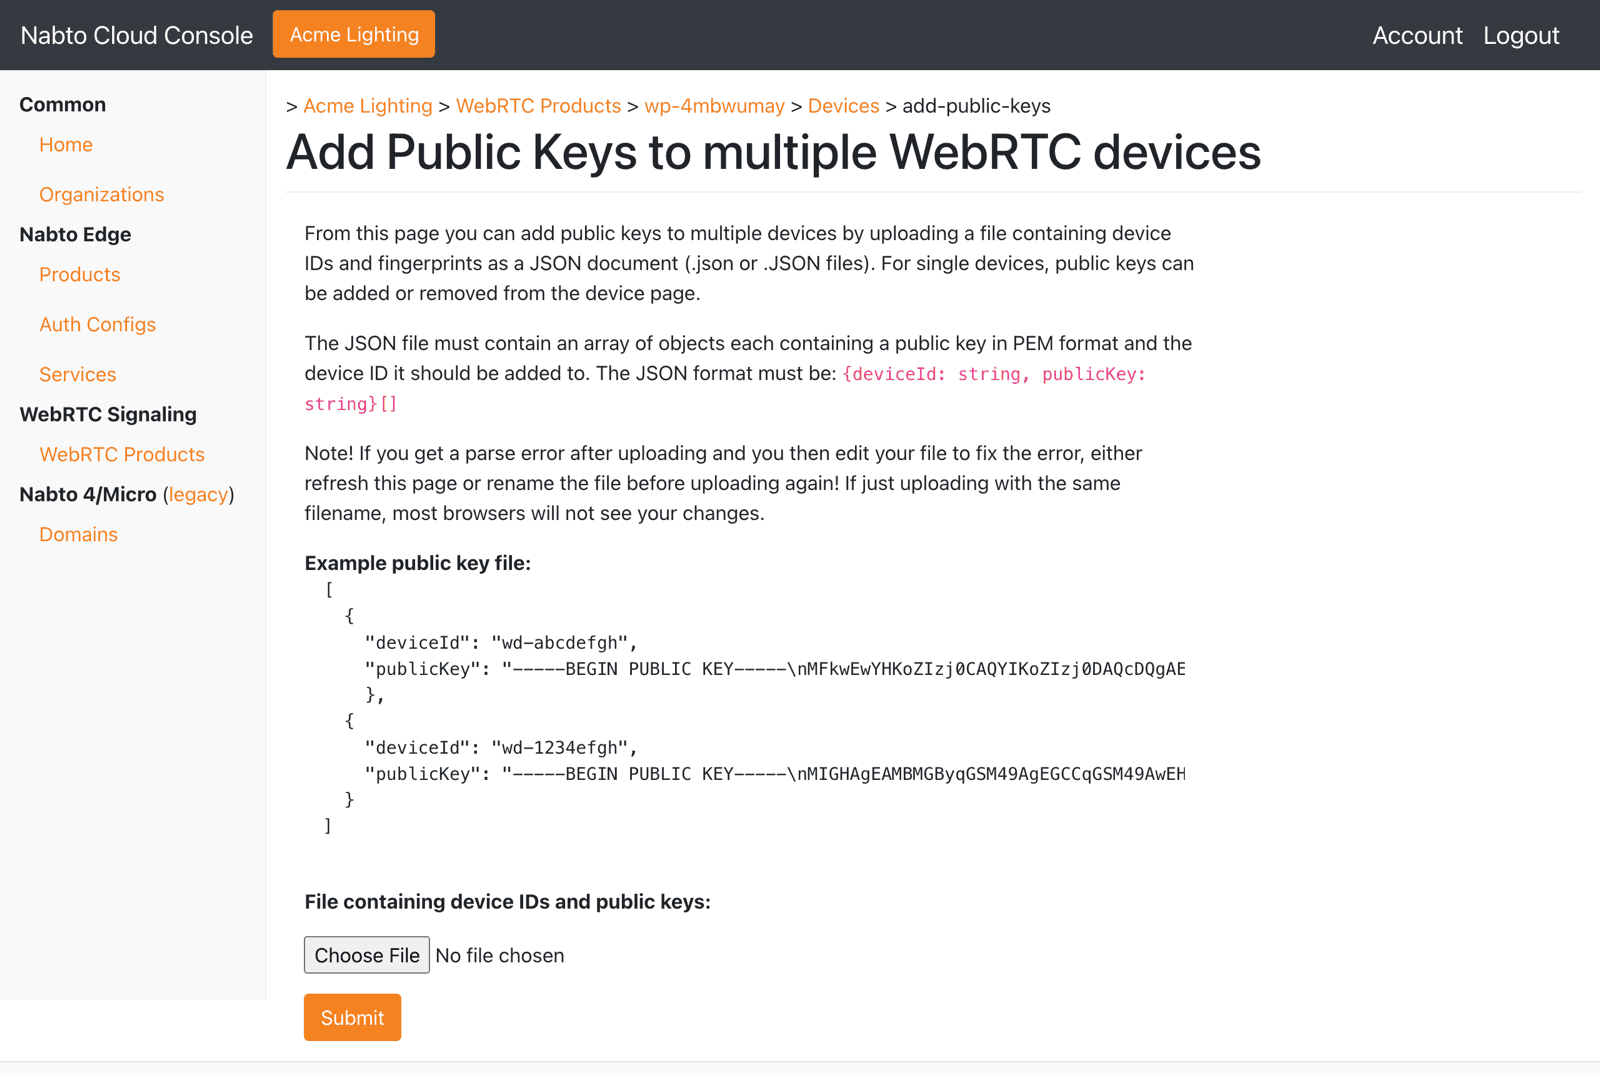
The upload is all or nothing. If a public key cannot be parsed or a device ID does not exist in the product, no keys are added and the console shows an error. Fix the file and upload it again. If you edit a file after a failed upload, reload the page or rename the file before uploading it again. Otherwise the browser uploads the previous version.
When the upload succeeds, the page reports how many devices got keys. Use the Devices link in the breadcrumb at the top of the page to return to the device list.
Keep the file from each production run. It is what you need to add a public key back if one is ever removed by mistake.
Automating Provisioning
The same operations are available through the Cloud API as Create Device batch and Bulk set device public keys. Use an API key with only the Nabto WebRTC permissions the provisioning system needs. See Managing API Keys.