
Organizations and Users
Everything you do in the console happens in the context of the current organization. Its name is shown on the orange button in the navigation bar at the top of every page. This is the single most important thing to check before making changes: If the orange button shows your production organization, your changes affect real devices.
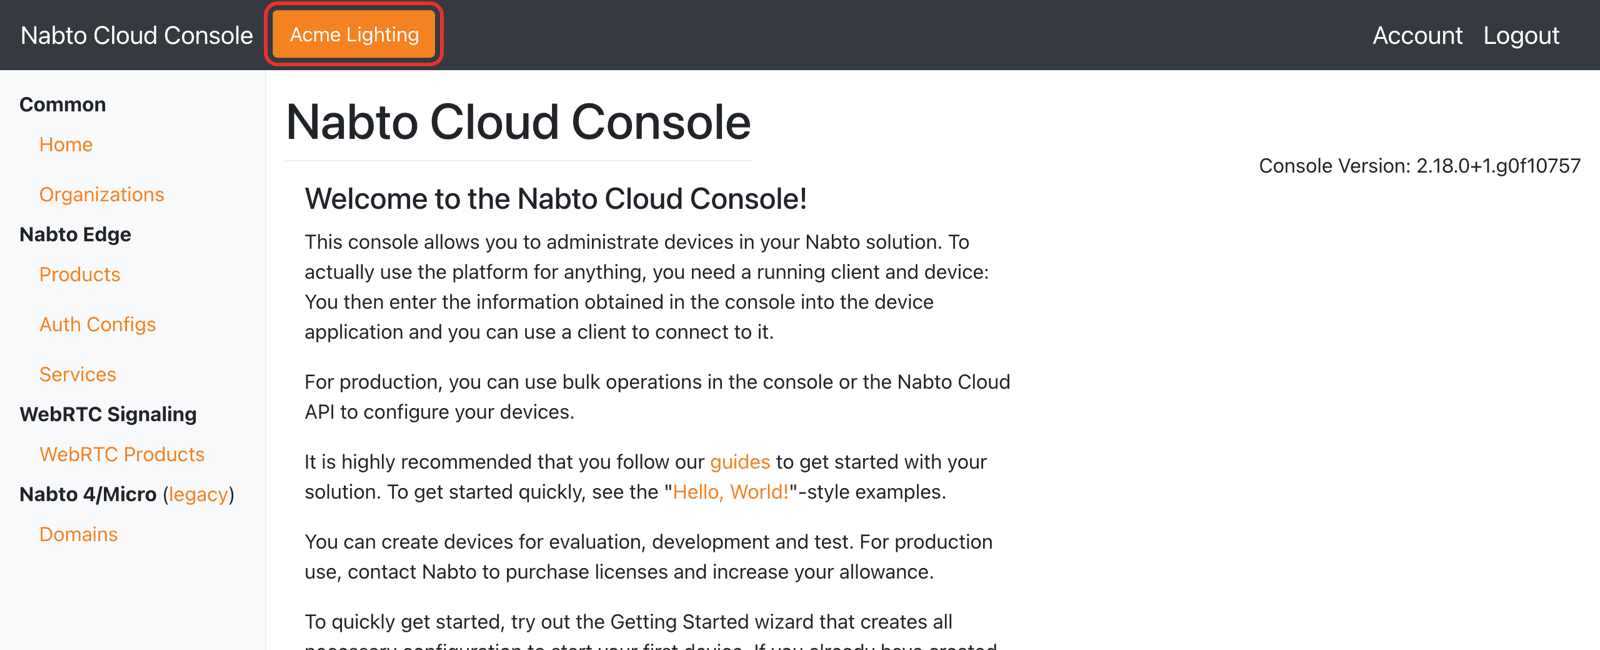
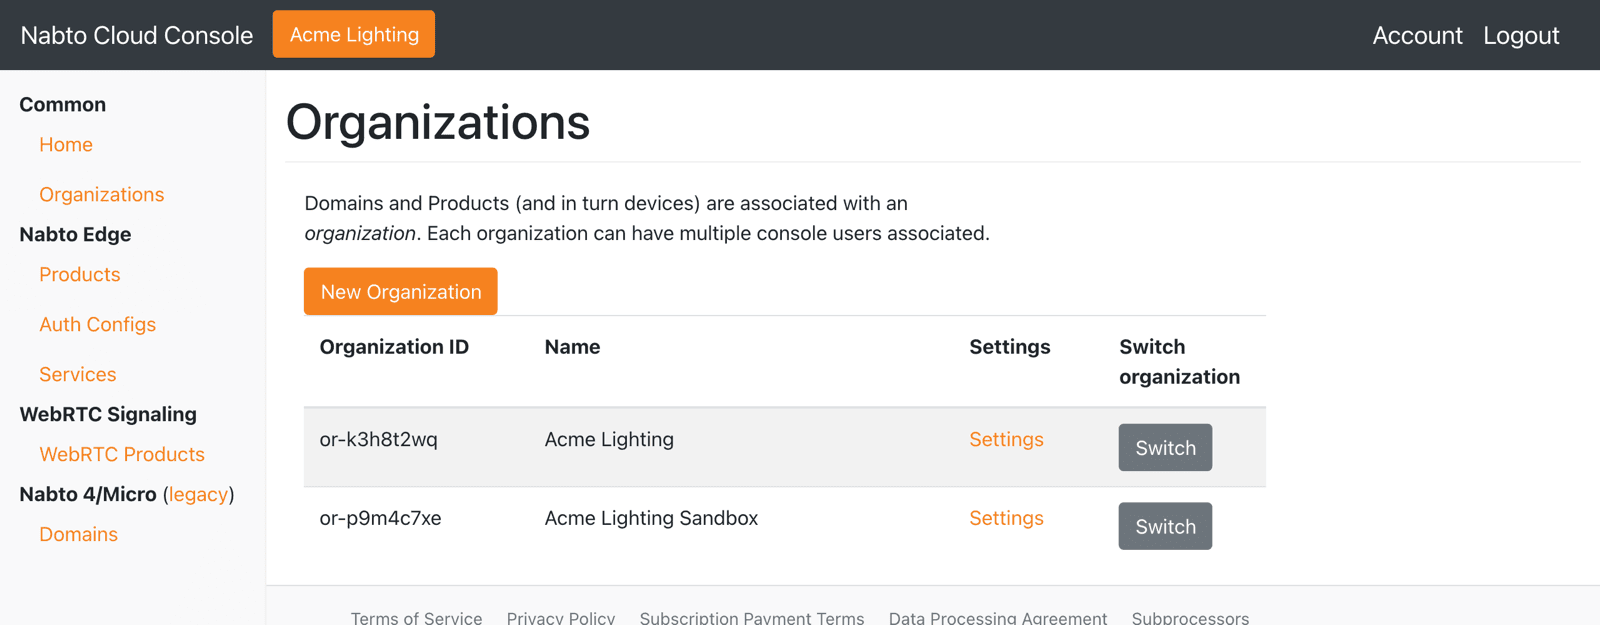
Clicking the orange button opens the settings for the current organization. To change to another organization, open Organizations in the left menu and click Switch next to the one you want. You can also open an organization’s settings and click Switch organization on the Details tab.
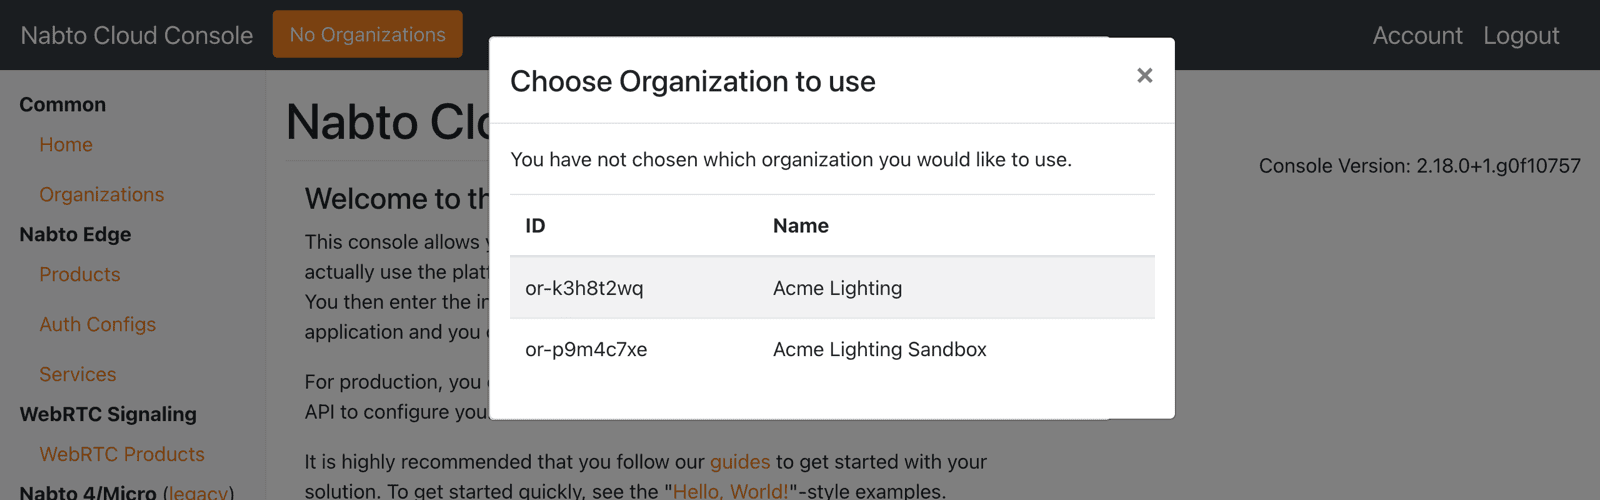
If you are a member of several organizations and none is selected (for example on first login or after being removed from the organization you last used), the console asks you to choose one:
We recommend keeping a clear separation between organizations. A common setup is one organization for the production fleet with a restricted set of members and one or more sandbox organizations for development, testing and training.
Organization Details
The Details tab shows the organization ID, the owner, the total number of Nabto Edge and Nabto WebRTC devices and the data residency. It also lists the organization’s limits, such as the maximum number of products and devices. Contact Nabto support to have limits raised.
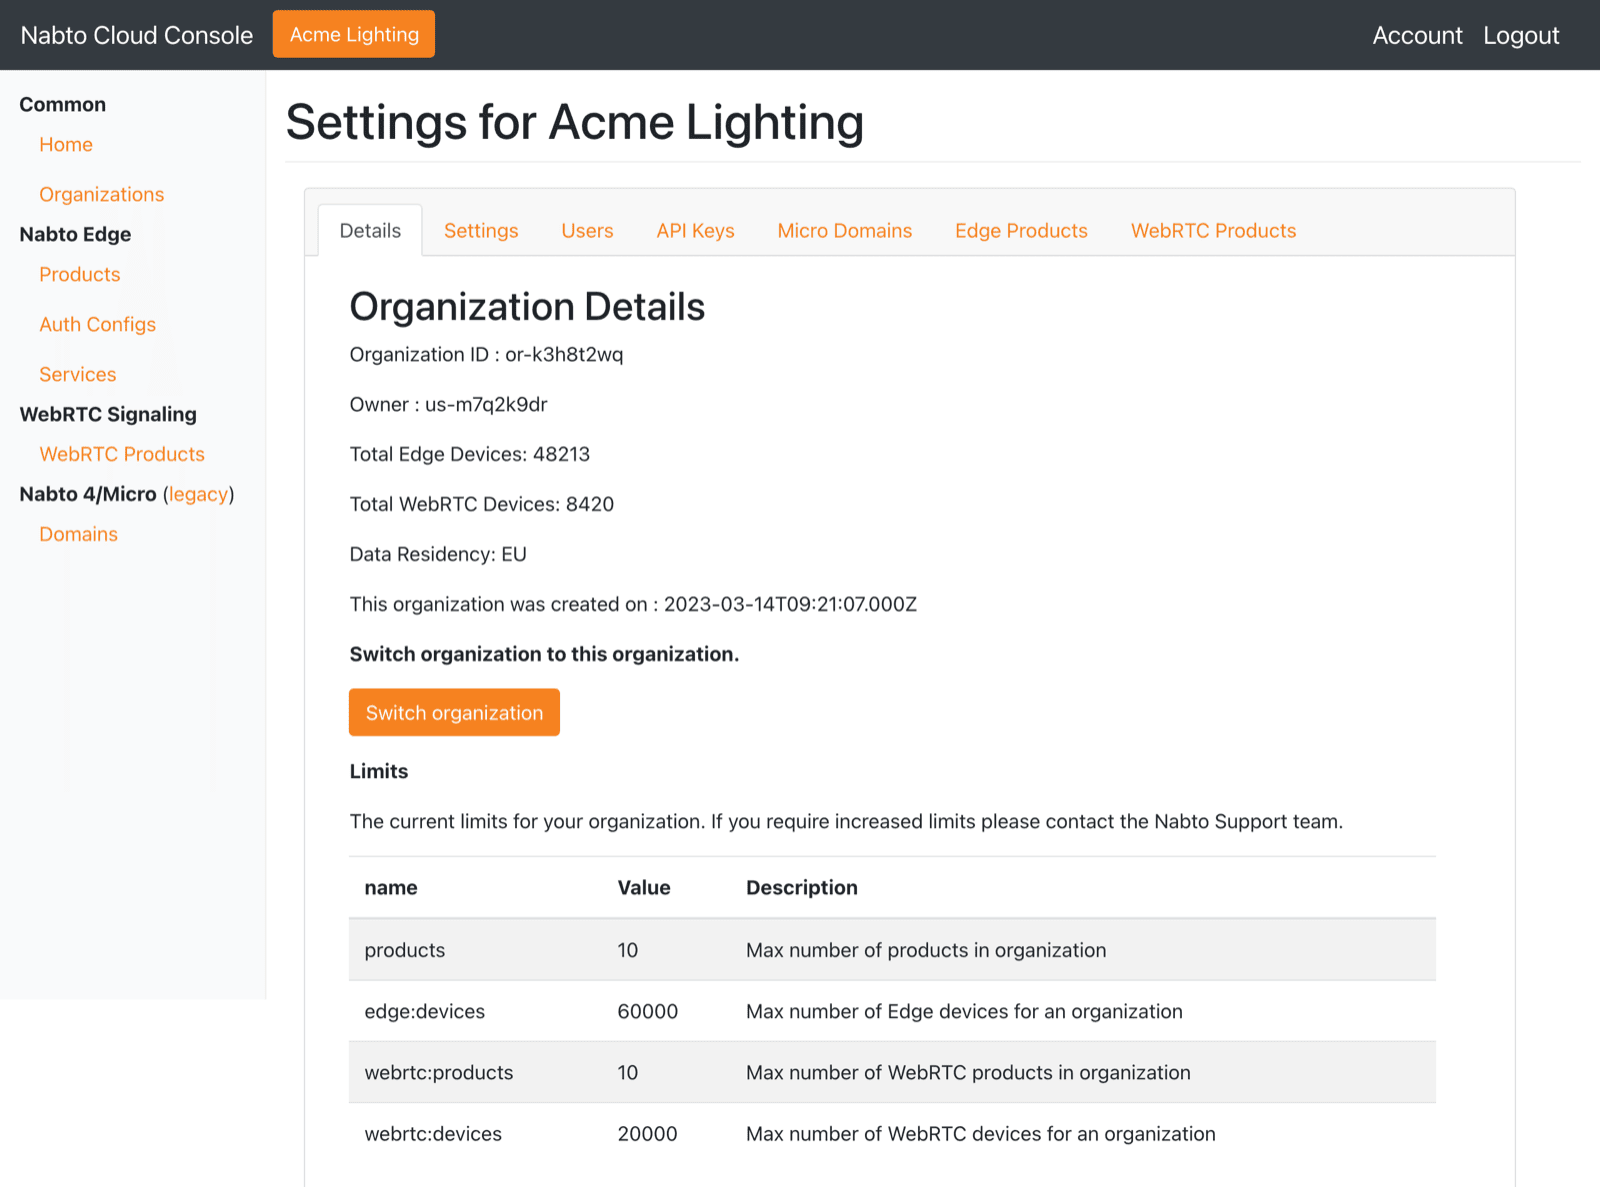
Data residency is chosen when an organization is created and cannot be changed later. It controls whether organization data is replicated globally or kept inside a region such as the EU. See Handling of Data for details.
The Settings tab lets you rename the organization and edit its tags. Tags are free-form key/value labels that have no effect on devices. The Edge Products and WebRTC Products tabs list the organization’s products for each platform.
Managing Users
The Users tab lists the members of the organization. Members can view and change the organization’s products and devices within the actions their login allows. Only add people who need that access.
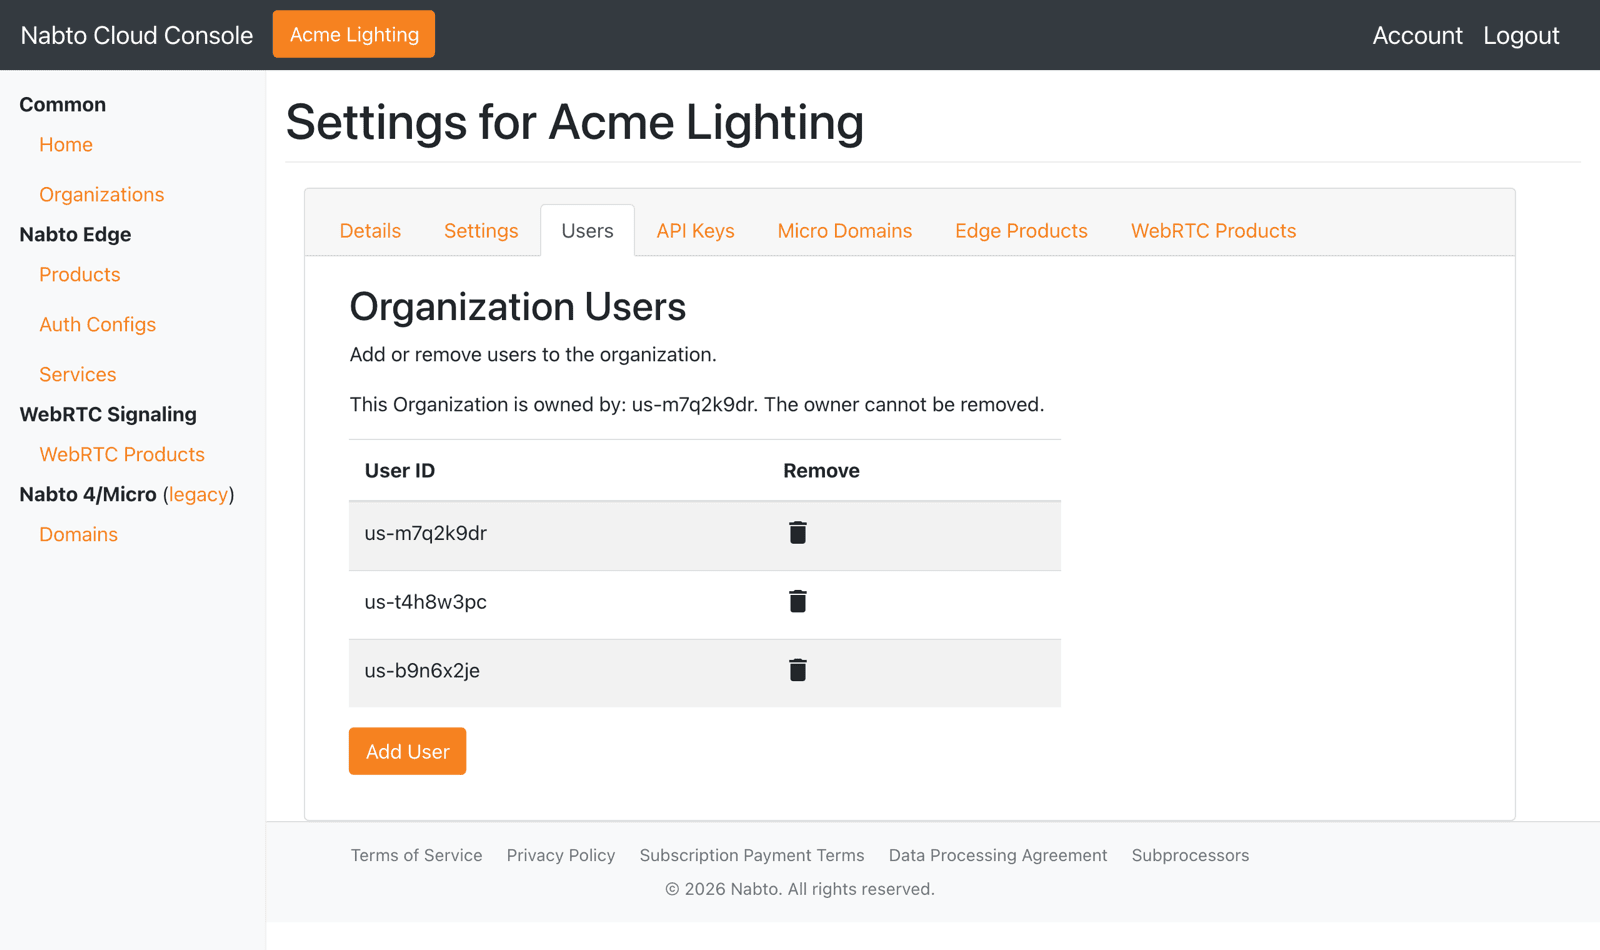
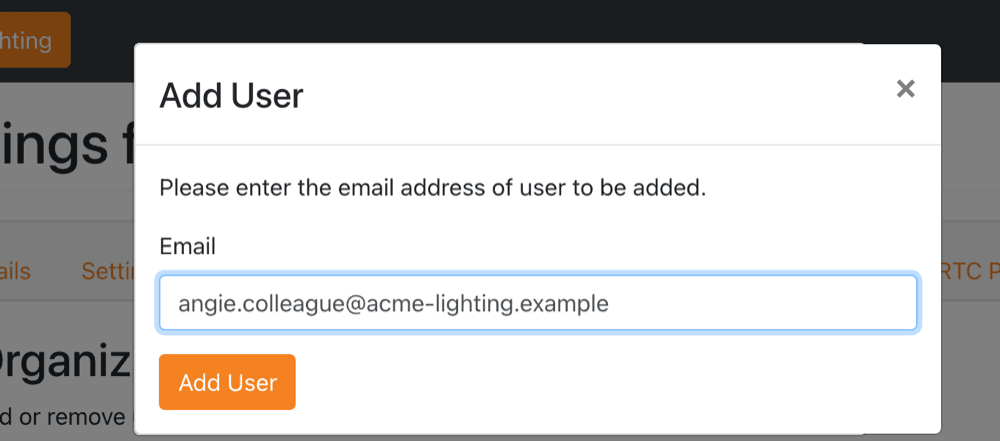
To add a user, click Add User and enter the email address the person uses to log in. The person must have signed up for a console login first. Otherwise adding them fails.
To remove a user, click the trash icon in their row. The organization owner cannot be removed. If you remove yourself, you cannot rejoin unless another member adds you again.
Managing API Keys
API keys let backend systems, such as a factory provisioning station, use the Nabto Cloud API with the base URL https://api.cloud.nabto.com/v1/. Anything you can do to products and devices in the console can also be automated through the API.
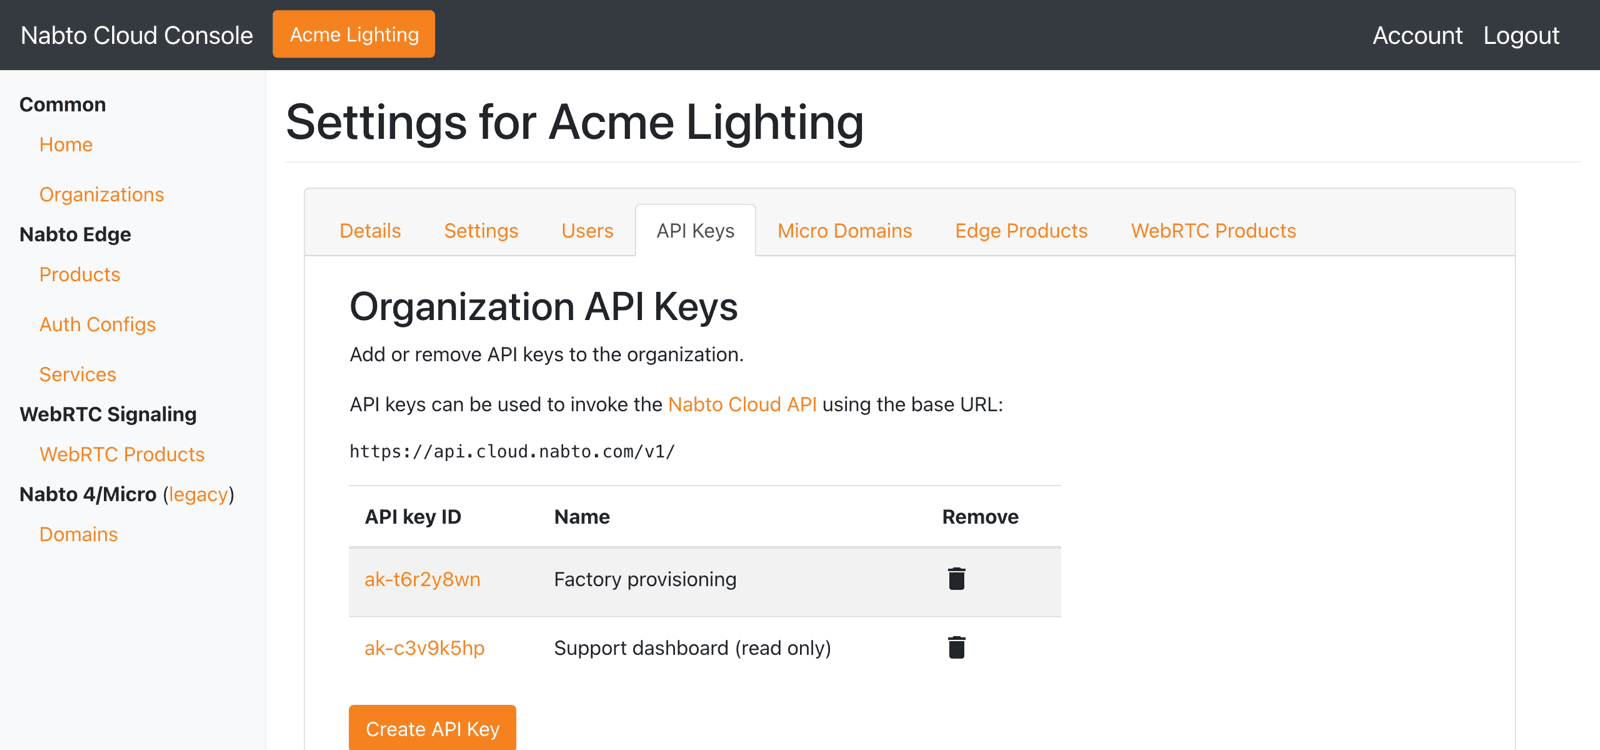
Click Create API Key to generate a key. The key is only shown once. Store it in a password manager or secret store before clicking Add. The key details dialog then opens where you can:
- Give the key a descriptive name, for example the system that uses it.
- Grant only the permissions the system needs. Permissions are set separately for Nabto Edge and Nabto WebRTC. A monitoring system typically only needs GET requests, while a provisioning system also needs POST/DELETE requests for the platform it provisions.
- Restrict use of the key to known IP addresses with the IP whitelist.
- Reset the key token if you suspect the key has leaked. The old token stops working.
Delete API keys that are no longer used with the trash icon.
Next, see Edge Products and Devices or WebRTC Products and Devices.